Weather Station
Posts in this series
- Introduction
- Sensor hardware
- Powering the sensor
- Final sensor hardware
- Sensor software
- Receiver hardware
- Receiver software
- Final build & installation
Back in March 2020 with lockdown in the UK looming I thought it would be a good time to pick up some new hobbies. By day I’m a software developer working mainly on backend technologies on large servers, using VMs or containers. I’ve not touched electronics since my uni days, but was interested in getting back into some coding closer to the metal.
It seemed a good time to pick up a Arduino starter kit & play around in the microcontroller world. A simple 8 bit chip with 2Kb RAM (Similar to a NES) is certainly quite a change from the day job!
After playing around with some of the starter projects and probably inspired by a unusually hot summer I thought I’d try to build an arduino powered weather station as a first proper project.
This seems to be quite a popular idea, a quick search will show a number of guides out & youtube videos out there.
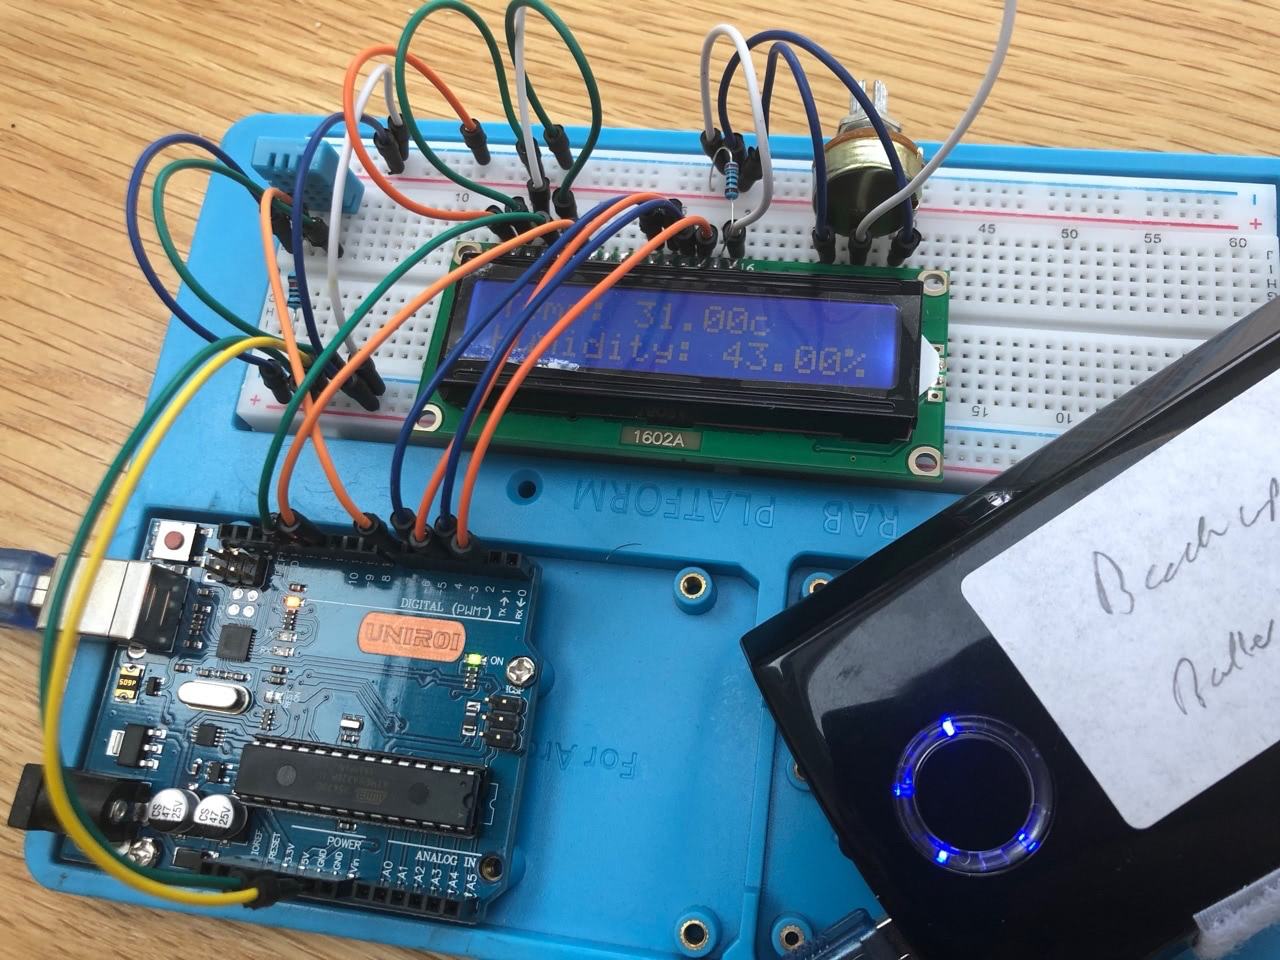
Putting together a first quick prototype with a LCD display displaying the current temperature and humidity from a DH-11 sensor was a fun afternoon…

…but didn’t quite scratch the itch enough for me. While it was fun watching the temperature climb over 30 degrees,
I came up with the following list of requirements:
- I want the sensor to be robust enough to record the outside temperature
- I’d like to record and track the temperature over time
- As a minimum it should record temperature, humidity and pressure
- It should be extensible to add additional sensors in the future (Air quality? rain gauge? anemometer?)
- Ideally I’d like to be able to set an alert when the temperature drops below zero overnight
- I’d like to be able to view the current weather on my phone & display it on our kitchen TV
- The sensor should be battery powered, & should last weeks on the battery
- As there’s a risk of this not working, keep the costs as low as possible to prove the concept
With these requirements in mind, a plan came together:

- Use an arduino nano with a sensor to record pressure, humidity and temperature
- This would be powered by a battery & housed outside, either in the garage or garden shed
- As WiFi doesn’t reach outside the house, use a 433MHz radio module to transmit from the sensor to the Pi
- Write some custom code to push the measurements into InfluxDB a time seriese database made for logging values over time.
- Use Grafana as a display to the measurments, display graphs & create alerts.
I’d been looking for an excuse to try the cheap RaspberryPi Zero out & have used Grafana for monitoring at work so knew it’s capabilities. I’ve got some experience with Prometheus for recording metrics, but it’s designed to pull metrics from systems, that wouldn’t work in this case. It seemed like a good time to learn InfluxDB, which you can push metrics into.
With a rough plan in place, it was time to start prototyping.
Having never made anything like this before I had to do a lot of research and experimentation before coming up with a final design, so I’ll be splitting up the build into a few parts.
- Sensor hardware prototype
- Powering the sensor
- Final sensor hardware
- Sensor software
- Receiver hardware
- Receiver software
- Final build & installation
Next time: building a prototype sensor, looking at radio transmitters and sensor modules.